3 min read
Replacing my MacBook's hard disk with an SSD
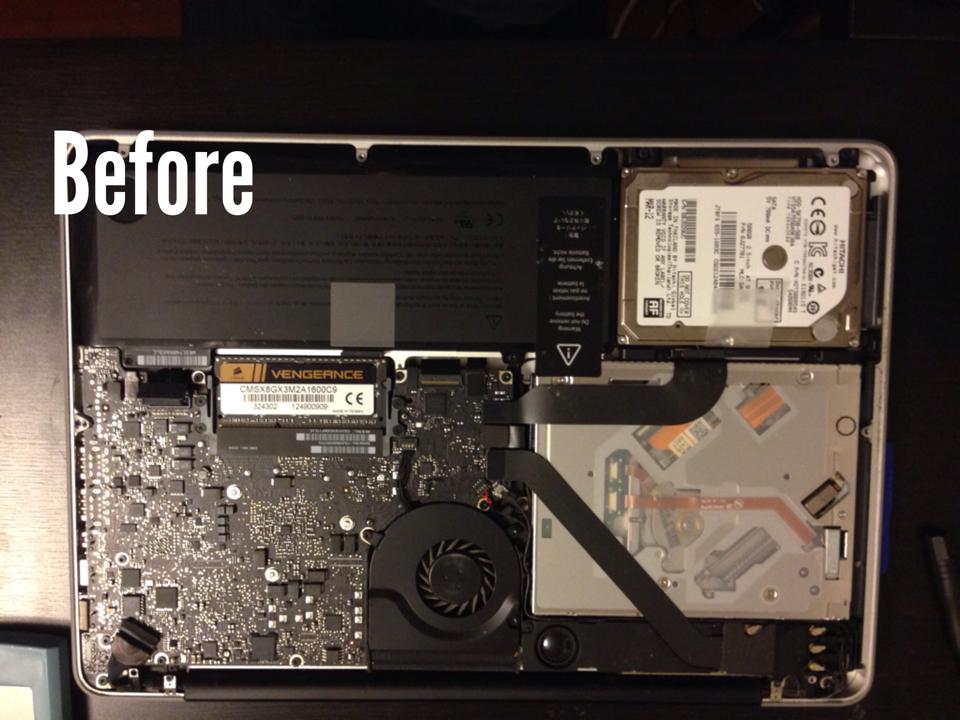
After using my roommate’s new late 2013 MacBook Pro and seeing the performance he was getting with his SSD, I decided to upgrade mine. I own a mid-2012 13″ model, but this upgrade should be compatible with most unibody MacBook Pros from the past few years.

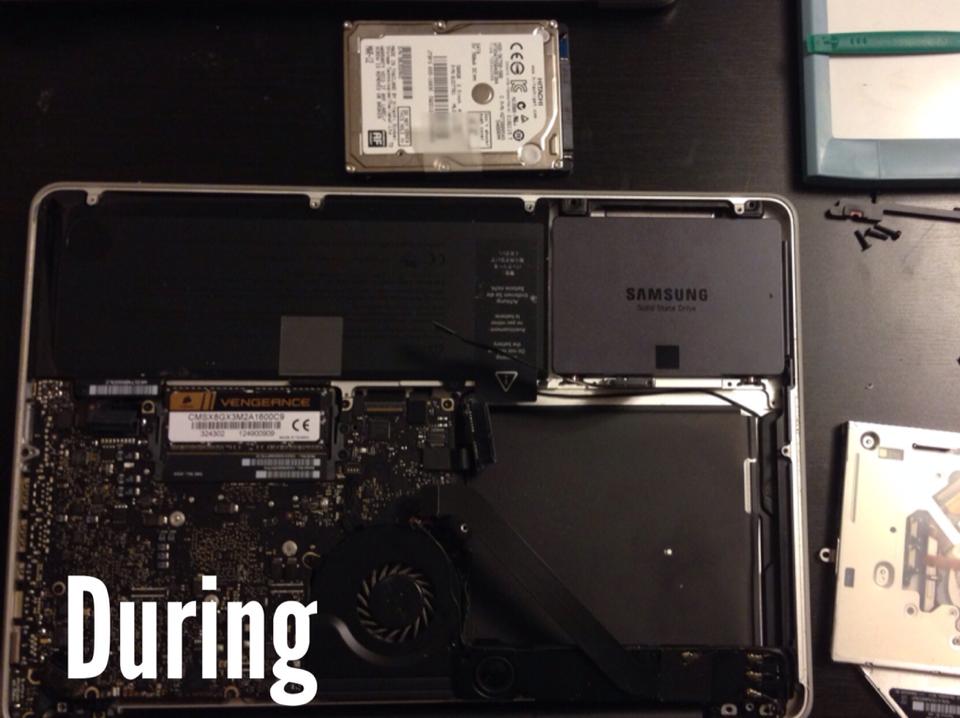
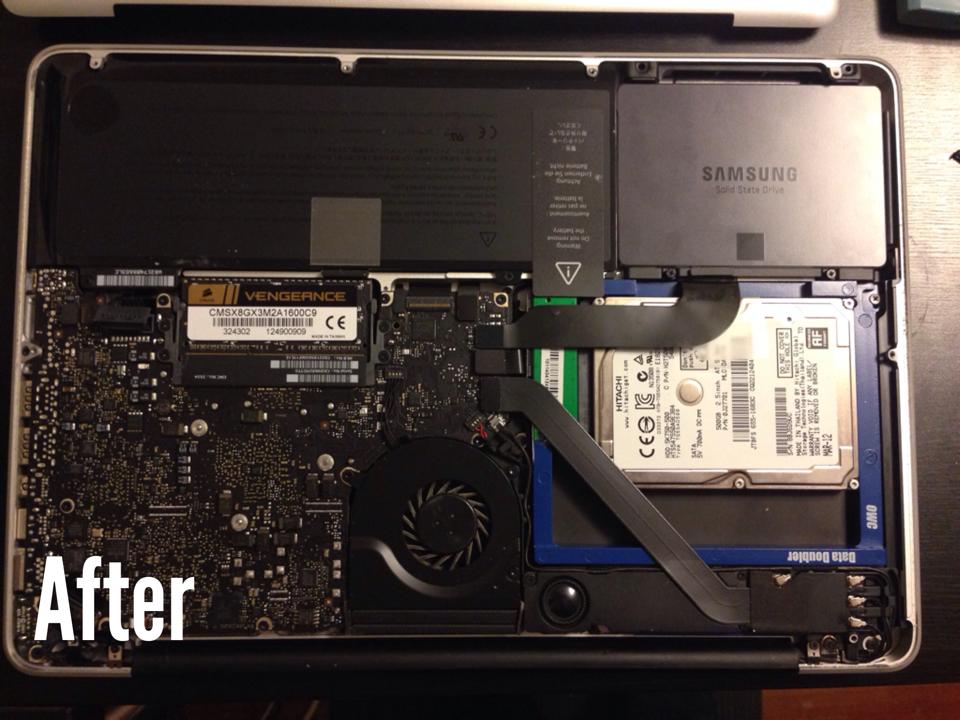
What I decided to do was replace the hard disk drive with an SSD, remove the CD drive, and move the hard disk there. That way, I could run applications off of the SSD and use the other drive for storage.
If you’re interested in doing this yourself, here are the components I picked up and recommend:
- 500GB Samsung 840 EVO-Series Solid State Drive ($260): As one of the top-selling SSDs on Amazon, this was an easy choice. It benchmarked very well on SSDBoss and most of the reviewers were very happy with it.
- Data Doubler disk mounting bracket ($35): This is a form-fitting mounting bracket that fits perfectly in the spot previously occupied by the disk drive. It’s significantly more expensive than the alternatives, but I was very pleased with it. It came with all of the tools that I needed to remove the screws and necessary components from my MacBook, and it even had an instruction manual specific to several models of MacBooks.
- Optional: An external hard drive for Time Machine backups. You can restore all your files and apps from the old disk, but it doesn’t hurt to have an extra backup, just in case.
The process:
- Optional: Run a Time Machine backup of the old disk. You’ll use this to restore your files and apps on the new one later. As mentioned earlier, you can also restore from the old disk directly.
- Make a bootable USB drive of Mavericks. I followed Mashable’s guide here.
- As for the actual hard drive replacement process, just follow the instructions that come with the Data Doubler.
- After you’ve put everything back together, boot up using the USB disk you created in step 2, and restore the new disk from the old one.
- You’re done! Enjoy the faster speeds and 8-second boot time.
Keep these things in mind:
- Since a discharge of static electricity can damage your laptop, it’s recommended to use an anti-static bracelet like this one. I didn’t think to buy one of these before I went through the process, but I was very careful. I changed into some tighter clothing before starting, and made sure to touch metal every so often to discharge any accumulated static.
- Use shot glasses or egg cartons to hold the screws, and make sure to keep these containers in order of recency. This will make it much easier to put your laptop back together afterwards.
Next steps:
You’ll likely find, as I did, that your battery life is significantly shorter with two disks. But never fear–there is an easy fix for this. Simply tell OSX to spin down hard disks when they are not in use for longer than 5 minutes.
Pop open Terminal and execute this command:
sudo pmset -a disksleep 5
(Via http://blog.macsales.com/13349-quick-tip-save-battery-by-spinning-down-hard-drive-sooner).
You’ll also want to enable TRIM. This keeps your flash memory appropriately cycled so you can achieve faster read and write speeds, as well as a longer lifespan for your SSD.
In Terminal, execute this command:
sudo touch /System/Library/Extensions/
If this command doesn’t work for you, there is a TRIM Enabler app you can download here.
(Via http://www.mactrast.com/2013/11/enable-trim-ssds-os-x-mavericks/)